What we covered?
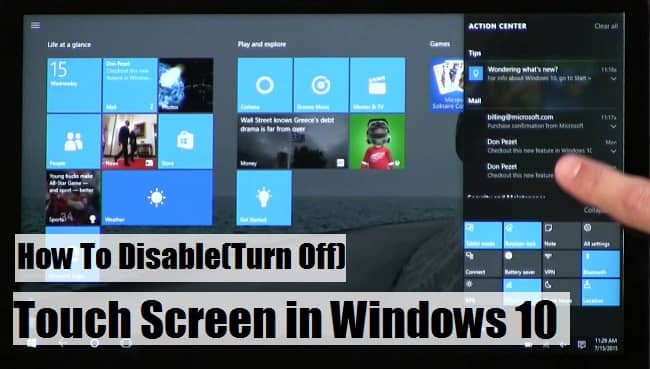
How to Disable touch screen on Windows 10:
As a gadget user, you know about the touch screen Technology, and Nowadays, Maximum of the Mobiles are built with touch Screen accessibility. And the Tablets are completes designed with Touch Screen Technology. In the Same Way, manufacturers are adding this Technology to Laptops and Computers to make the work easy for professionals like designers, Media people, etc.
Using a Touch-screen is Simple, you handle the PC with fingertips. It is helpful in a lot more way. Besides Touch-Screen accessibility, you can also make use of Keyboard & Mouse to manage PC in a usual way.
Features of Latest Laptops includes Touch-screen technology, and you can manage it through two ways, Pen or Touch. You can make a note or design art using Pen and zoom-in or Zoom-out with your Fingertips. Moreover, you can also disable the Touch Screen in Windows 10 in case you are getting deviated to other programs for every single touch and manage through Mouse.
How to Turn off Touch Screen on Windows 10:

Any Person with a bit knowledge of Technology & especially Computers can easily stop the Touchscreen on Windows machine. And if you want to get Straight to the Point, then Follow the below Two Methods to get your way to Disable Touch Screen feature on the computer. In general, you can get access to Touch-screen settings in two different ways. One from Device Manager which is Perfect and you can also do it in an alternative way.
Method-1: Device Manager
Device Manager is the core settings to check the status of hardware components of the PC. You can get the live status of most of the hardware here. Also, you can disable Touch Screen Feature in Windows Machine. So let’s know how to do it:
- Open Right-Click Menu on “Computer.”
- Select properties from the menu to get the ‘System information’ Window.
- On the left side menu, Tap on ‘Device Manager.’
- A new window will be displayed on the screen and from the list click on Human Interface Devices.
- it expands with a list of options, now Right-click on ‘HID Compliant Touch Screen.’
- You need to Select disable option from the Right-Click menu and Confirm it with ‘Yes.’
Now the Touchscreen will be in disabled mode until you Turn on. From now on nothing happens when you touch the Laptop screen.
Alternative Method:
Touch-Screen on Windows Machine can also be Turned Off through the input device Settings. You can prefer this method if the above method is not accessible. All the steps are simple, and you can make the changes in Touch-screen Settings by following the below process.
- Press the Windows Button and Search for Control Panel.
- Now Click on Control Panel to open its settings.
- Here ‘Pen and Touch’ option in the List of Icons with Names.
- A new window will open up on the screen, Navigate to ‘Touch’ visible as a Top menu.
- Uncheck the ‘Use Finger as an input device’ box.
Done, Touch Screen is Successfully disabled, and you no longer have to worry about accidental clicks.
How to turn on touch screen on windows 10:
Touch Screen can be Disabled or Enabled at any time from the same settings. If you have changed device manager settings, then you must enable the Touch Screen in the Same Procedure, and if you have disabled Pen & touch settings, then you must go for it. When compared to the two Methods explained in this Article, follow below steps:
A) As in First Method, Go to Windows>Device Manager> Human Interface Devices> Switch to Enable Mode.
B) And you have used an alternate method, then you must follow: Control Panel> Pen & Touch> Check the ‘Use Finger as an input device’ to Turn on Touch Screen on Windows 10.
Follow us on Facebook: Techy Sea

